International shipping for nail accessories only - POLISHES & LIQUIDS CAN'T BE SHIPPED OUTSIDE FINLAND!
")
")
![]()
-
Products
- For Professionals
- Gel Polish ›
- Face Masks
- Nail & hand care ›
- K-Beauty ›
- Cosmetics
- Nail polish ›
- Nail Drills and Bits
- Gift cards
- For Kids
- Stamping ›
- Other tools ›
-
Nail Art
›
- 3D Nail decoration
- AquaColor Pens
- Confetti, Flakies, Rhinestones, Sequins
- Nail art foils
- Glitters
- Helmet
- Nail art tape
- Chrome- and effect powders
- Crystals ›
- Matrix and Gel Paints
- Metal Decorations
- Fimo
- Other ›
- Pigments
- Nail art kits
- Water decals
- Crushed Shells and Dried Flowers
- Nail Art Brushes & Art tools
- Nail stickers and Nail vinyls
- Liquids
- Pienkalusteet
- Tweezers and other tools
- Gel & acrylic nails ›
- Brushes
- UV- & LED-lamps
- Nail files
-
Brands
- Professional Products
-
Bluesky
›
- Bluesky Gel Starter Kits
-
UV/LED Gel Polish
›
- Bluesky Gel Polish Starter Kits
- Base- and Top Coats
- All 10ml Gel Polishes
- Mini Gel Polishes / Mini Sets ›
- PROFESSIONALS ONLY 15ml
- POISTUVAT_TUOTTEET
- Spring 2024 NEW!
- Creme Gel Polishes
- Special Effect Gel Polishes
- PEARL
- Temperature Changing
- Glaze & Glacier
- Galaxy
- Magnetic Gel Polish
- SPARKLE DIAMOND CAT EYE NEW!
- SPARKLE NEON NEW!
- Builder Gels
- Builder in a Bottle
- Gum Gels
- Soft Gel Nails
- Nail Art ›
- Tarvikkeet ›
- Treatments
- AirKiss Nail Polish
- Bluesky PROFESSIONAL ›
- Bluesky Courses
- Elektroniikka
- BO.Nail ›
- Color Club ›
- INVERAY ONLY FOR PROFESSIONALS ›
- Kiara Sky ›
- Konad ›
- Milv ›
- Moyra ›
- Nailfix Professional ›
- NANOLASH
- NCLA ›
- Ohlalá ›
- Oulac Cosmetics ›
- Picture Polish ›
- SheMax NEW!
- Staleks ›
- BLUESKY
- What's new
- Customer Groups
- OUTLET
- Store
- Sale
- Videos
- Courses
- Info
- Products
-
Brands
- Professional Products
-
Bluesky
- Bluesky Gel Starter Kits
-
UV/LED Gel Polish
- Bluesky Gel Polish Starter Kits
- Base- and Top Coats
- All 10ml Gel Polishes
- Mini Gel Polishes / Mini Sets
- PROFESSIONALS ONLY 15ml
- POISTUVAT_TUOTTEET
- Spring 2024 NEW!
- Creme Gel Polishes
- Special Effect Gel Polishes
- PEARL
- Temperature Changing
- Glaze & Glacier
- Galaxy
- Magnetic Gel Polish
- SPARKLE DIAMOND CAT EYE NEW!
- SPARKLE NEON NEW!
- Builder Gels
- Builder in a Bottle
- Gum Gels
- Soft Gel Nails
- Nail Art
- Tarvikkeet
- Treatments
- AirKiss Nail Polish
- Bluesky PROFESSIONAL
- Bluesky Courses
- Elektroniikka
- BO.Nail
- Color Club
- INVERAY ONLY FOR PROFESSIONALS
- Kiara Sky
- Konad
- Milv
- Moyra
- Nailfix Professional
- NANOLASH
- NCLA
- Ohlalá
- Oulac Cosmetics
- Picture Polish
- SheMax NEW!
- Staleks
- BLUESKY
- What's new
- Customer Groups
- OUTLET
- Store
- Sale
- Videos
- Courses
- Info
Front page Products Gel Polish Gel polish starter kits Bluesky Gel Polish Starter Kit with LED lamp VOL. 2
Bluesky Gel Polish Starter Kit with LED lamp VOL. 2
Product no.: 6941175895678Available delivery methods: Nouto Vilhonkadun liikkeestä, Posti - Kotipaketti, Matkahuolto Kotijakelu, Posti - Express, Postipaketti, Matkahuolto Lähellä-paketti


Your Bluesky Starter Kit gives you everything you need to create beautiful, salon-quality gel manicures and pedicures from home.
You can change the following products:
All 3 colours
Base coat - thin BASE 01, slightly thicker BASE 02 or very thick THICK BASE.
Top Coat - Shiny No-Wipe TOP 02 or matte No-Wipe MATTE T02
Write your wish in the comment box while ordering.
Your Starter Kit includes:
- 24W LED Nail Lamp
- Base Coat 10ml
- No-Wipe Top Coat 10ml
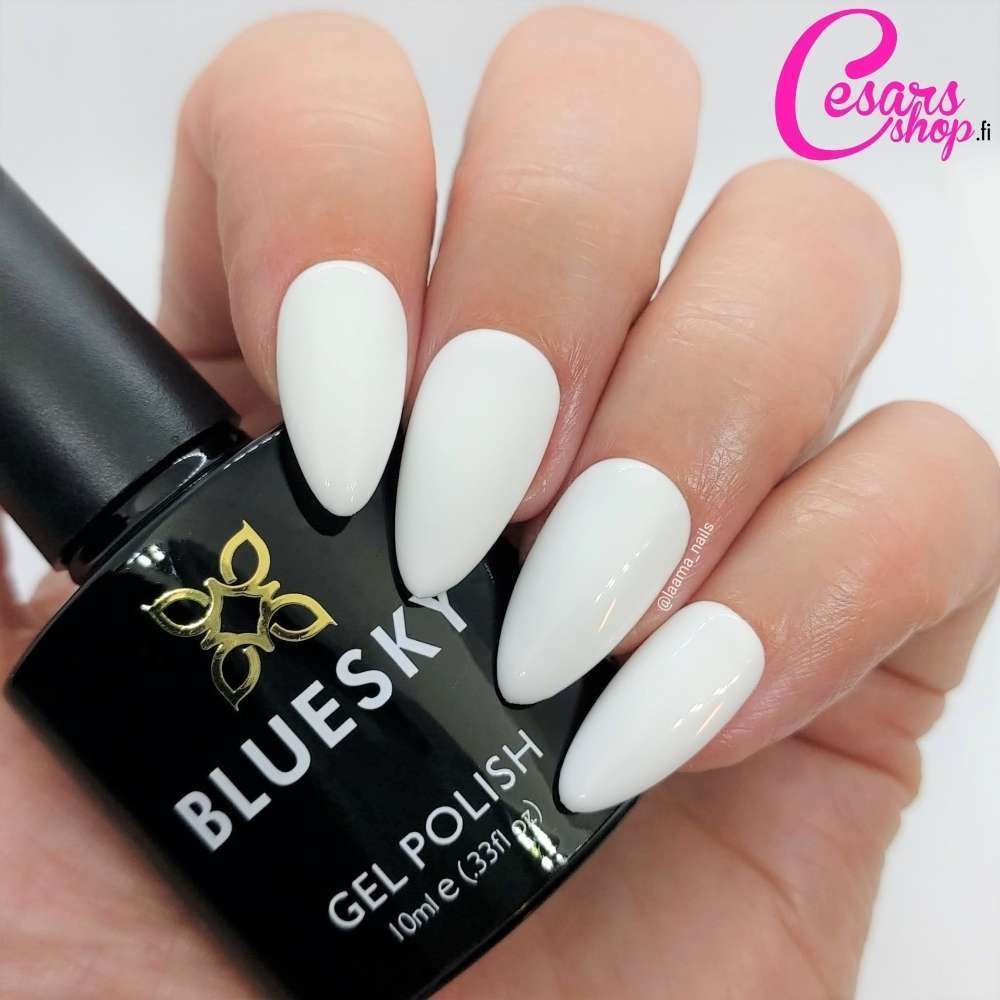
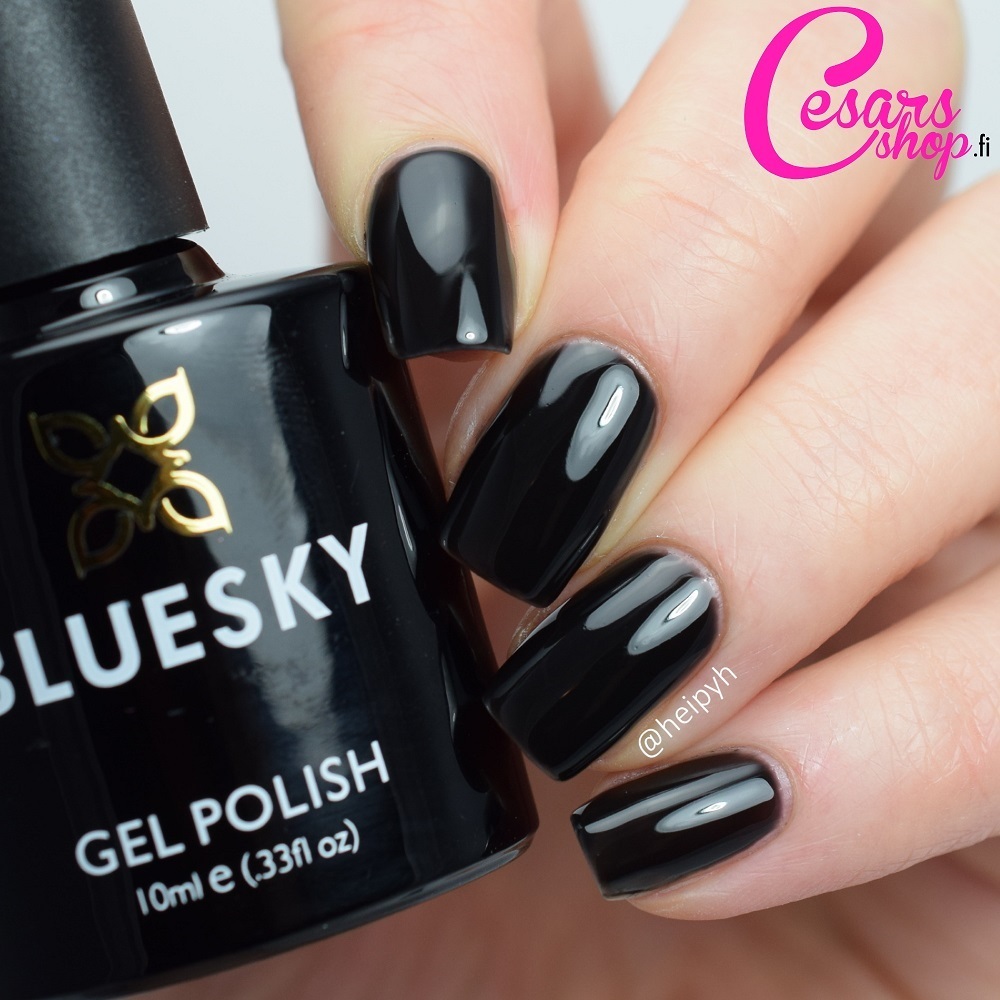
- 3 Colours (Dolly Milk, Moonwhite, Blackpool)
- 20 pcs Cleanser Wipes
- 20 pcs Removal Wraps
- Nail File 100/180 grit
- Nail Buffer 100/180 grit
- It's very important to clean the cuticles from the nail plate, as any excess cuticle can make the gel polish lift from that area very easily. If your cuticles are very stubborn, we recommend the Konad cuticle remover to help.
- The standard curing time for gel polish is 1 minute in LED and 2 minutes in UV.
8. Apply a thin-ish layer of your colour gel polish. Remember to cap the end of the nail with each coat. Avoid the cuticle area. Cure for 1 - 2 minutes depending on your lamp.
9. Apply and cure your second layer of colour polish just like the first one.
- If you want a more solid colour, you can add a third layer. However two coats is usually enough.
10. Apply a layer of Bluesky Top Coat the same way as the others. Cure for 1 - 2 minutes.
11. Unless you're using a No-Wipe Top Coat, take a Bluesky Cleanser Wipe and remove the sticky layer from the top coats surface.
And voilá! Your beautiful gel manicure is done. Now you can add some cuticle oil to your nails and cuticles to bring back any lost moisture.
- Longevity of the gel polish
Bluesky gel polish is extremely high-quality and usually lasts for 2-3 weeks. Some people however have naturally very oily nail plates, which causes gel polish, artificial nails and even regular nail polish to not stay on properly. In which case we recommend using Bluesky's Primer in between the 5th and 6th step, after cleansing the nail and before applying base coat. The primer creates a sticky, 2-sided tape-like finish on the nail, which the gel polish will adhere to.
- Removal of the gel polish
Bluesky gel polish removal: File the top of the gel polish to break the surface so there is no more shine. After that use Bluesky's own gel polish removal wraps, which are a quick and easy way to remove the polish. Link to the removal wraps and their instructions, here.
Additional product information
Customer ratings for Bluesky Gel Polish Starter Kit with LED lamp VOL. 2
Average rating: 4.5
from Eve on 21/03/2023
from Anonymous on 13/02/2023
from Anonymous on 19/01/2023
All incoming ratings are posted by actual shop visitors / webshop customers and their content is checked by the operator by means of a visual inspection.
Customers who bought this product also bought
 |
 |
 |
 |
 |
 |
Browse these categories as well: Gel polish starter kits, Bluesky Gel Starter Kits, Bluesky Gel Polish Starter Kits
| Mon | Closed |
| Tue |
11:30 |
- | 18:00 |
| Wed |
11:30 |
- | 18:00 |
| Thu |
11:30 |
- | 19:00 |
| Fri |
11:30 |
- | 18:00 |
| Sat |
11:30 |
- | 16:00 |
| Sun | Closed |


Cesars Finland Oy
Vuorikatu 22
00100 HELSINKI
FINLAND
tel. +358 400 608621
cesarsshop@gmail.com
Like us